I love how far along 3D software has come in the years since I last worked with it regularly.
Back then, Maya was still produced by Alias, and if you wanted such revolutionary features as particle, hair & cloth simulations that reacted realistically to real world physical principles, you were spending upwards of $5,000 just for the software, let alone the kind of hardware you needed to run it efficiently.
Now, such features are readily available to any and all through free Open Source software, like Blender (which has also come a hell of a long way since I first played with it way back when), and the hardware can be bought off the shelf at your local computer store to run it at a decent enough pace.
One of the aspects of 3D that I was always intrigued by was that of 3D scanning.
The last time I looked into it, 3D scanning was done by laser, scanning a series of points along the surface of a subject, timing how long it took for the laser to travel to those points and back to a known position in 3D space so that it could figure out exactly where everything was. From these points, it was able to then reconstruct a pretty accurate model.
But, some surfaces, such as human skin, would diffuse the laser beam and potentially confuse the scan, so moulds would have to be made of the subject and then cast, in order to get a surface that didn’t scatter the light. It was an expensive and laborious process.
3D scanning technology has developed ridiculously far since then, and computers are also far more powerful. The advent of the digital photography age has also meant a more practical way of not only collecting the data about the form of objects, without having to go to the time, hassle and mess of creating plaster cast clones of our subjects, but also the texture on its surface, meaning we don’t have to figure all that out after the fact and redraw it from scratch.
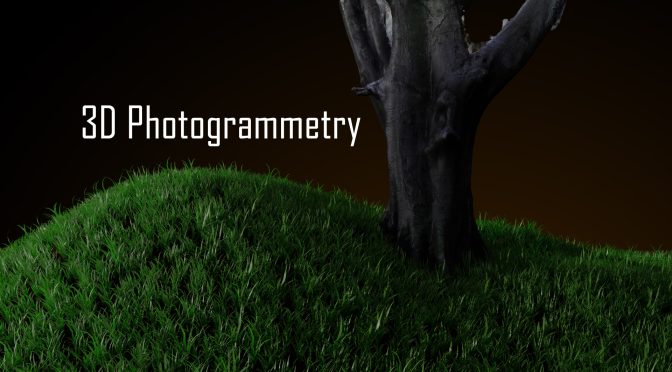
 So, in comes photogrammetry, the new way to 3D scan your subjects!
It’s certainly not an easy process to jump into, or rather you won’t be seeing perfect results right away, although the barrier to entry is nowhere near as high as it once was. Most of us already own some sort of camera, even if it’s just a mobile phone, and there are Open Source applications available that pretty much cover the entire process from aligning your images to rendering out your final scene.
Some of you may be seeing the above photo for the first time, and some of you may have seen it before. It was created during a one-to-one location nude photography session I was teaching a few years ago, and it’s at a location a few miles from my house that I visit and shoot at fairly regularly throughout the spring and summer.
Why is it relevant to this discussion? Well, she’s stood against my favourite tree (the idea that I have a “favourite tree” tickles some of my friends greatly).
It’s lost a few, not unsubstantial, limbs over the past few years, but it’s a fantastic “prop” to shoot against. It’s a huge tree, with a fantastic sprawling base, and some amazing texture and detail that sits right on the edge of woodland, which gives it constant directional lighting throughout the day (which turns out is great for photography, but not so much for photogrammetry).
This was to be my first subject to try and digitise, beginning with a trip to the woods to gather my photographs.
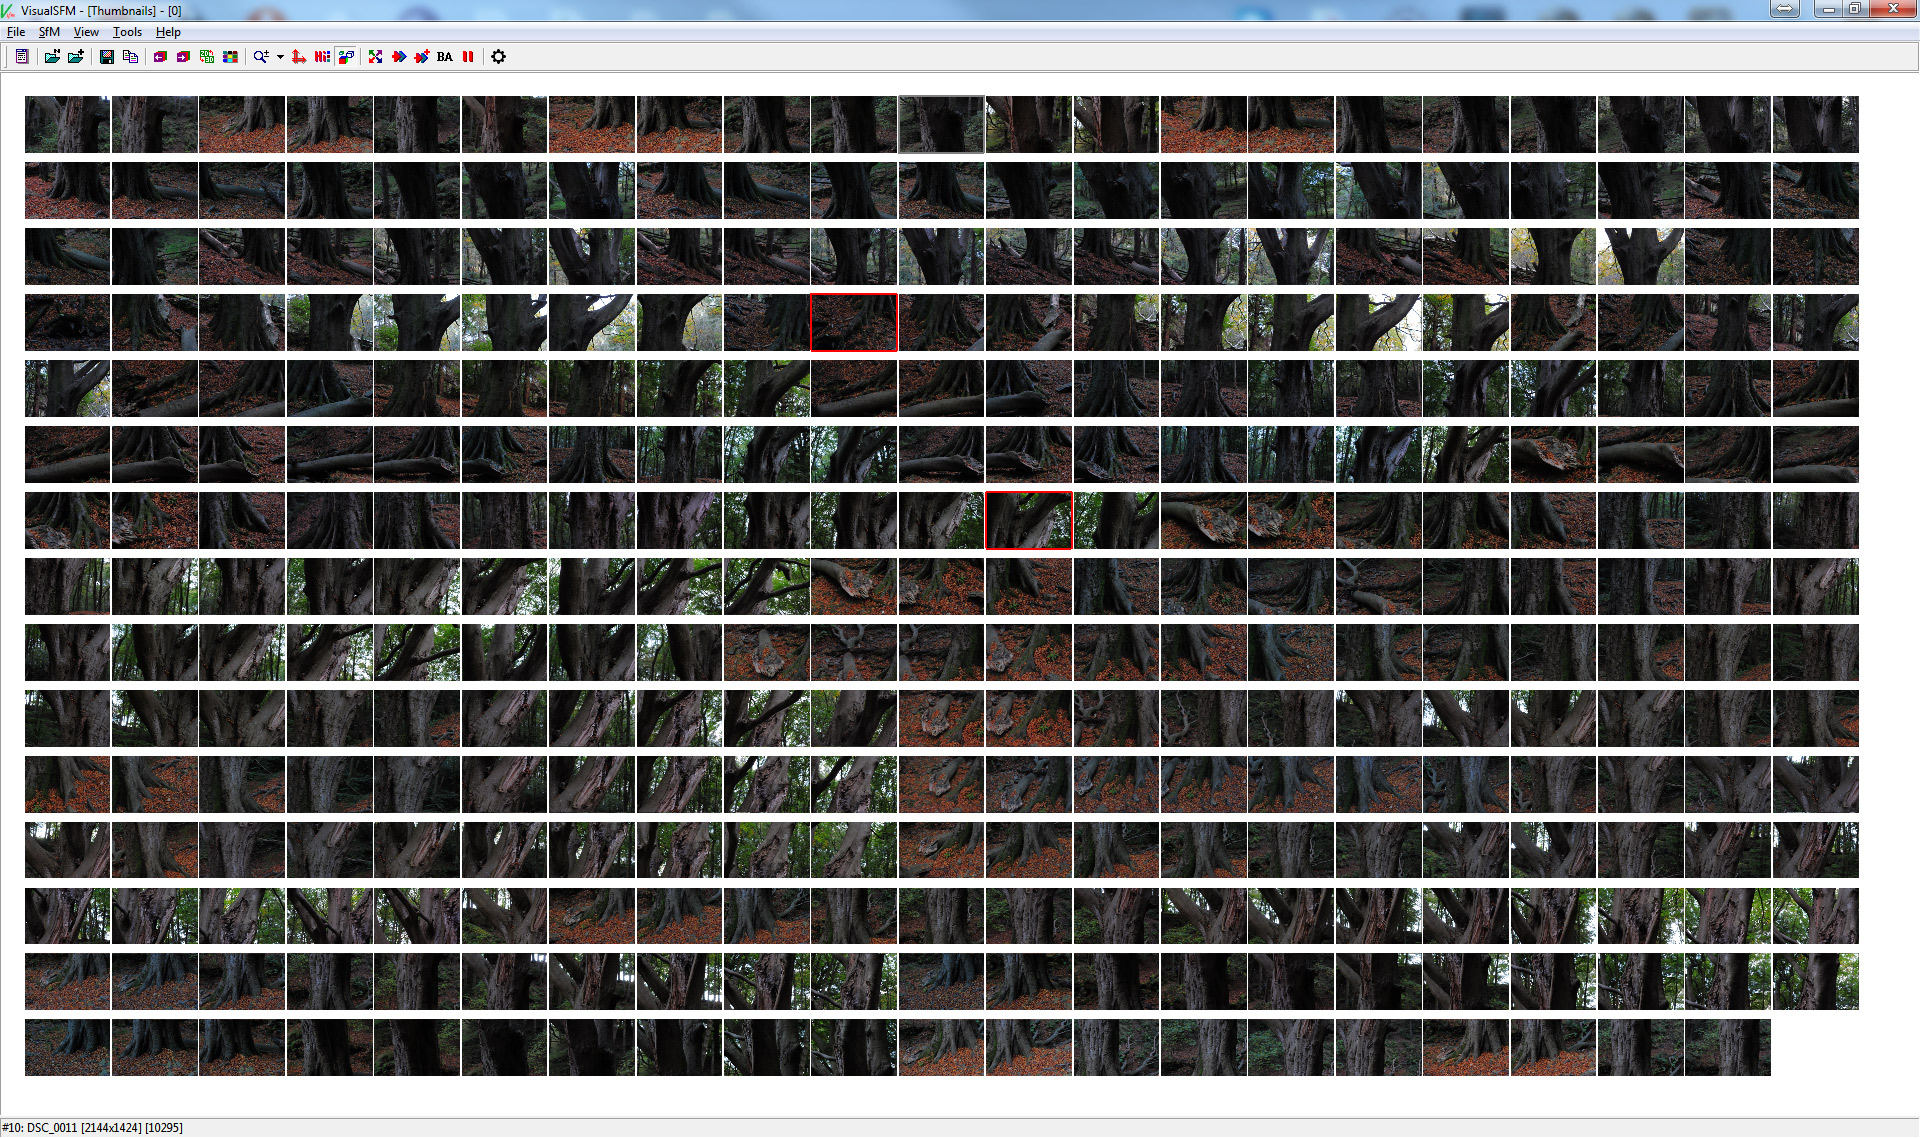
Having never done this before, I figured you can’t really shoot too many photographs, and I can always cull them on the computer before feeding them into the software if need be. In the end, I didn’t cull, and used all 313 photos in order to generate the 3D point cloud (a set of markers in 3D space on the surfaces of objects in the scene to denote position, direction and colour), which took a while.
After generating the initial point cloud, we generate a denser point cloud which fills in a lot of the gaps, and then we generate the mesh of the object that can be brought into 3D software such as Blender.
The little guy in this image is just a generic human mode I bought into the scene to give some sense of scale to the tree.

You can see that this process gives a lot of detail to the final mesh of the object being scanned. There are a couple of issues with this model, particularly the cracks along parts of the tree and ground, where there are some texture map issues that I’m still figuring out.
But, overall I was pleased with this for a first attempt. Once we add the texture to the surface and throw in some specular highlights, we get something like this.
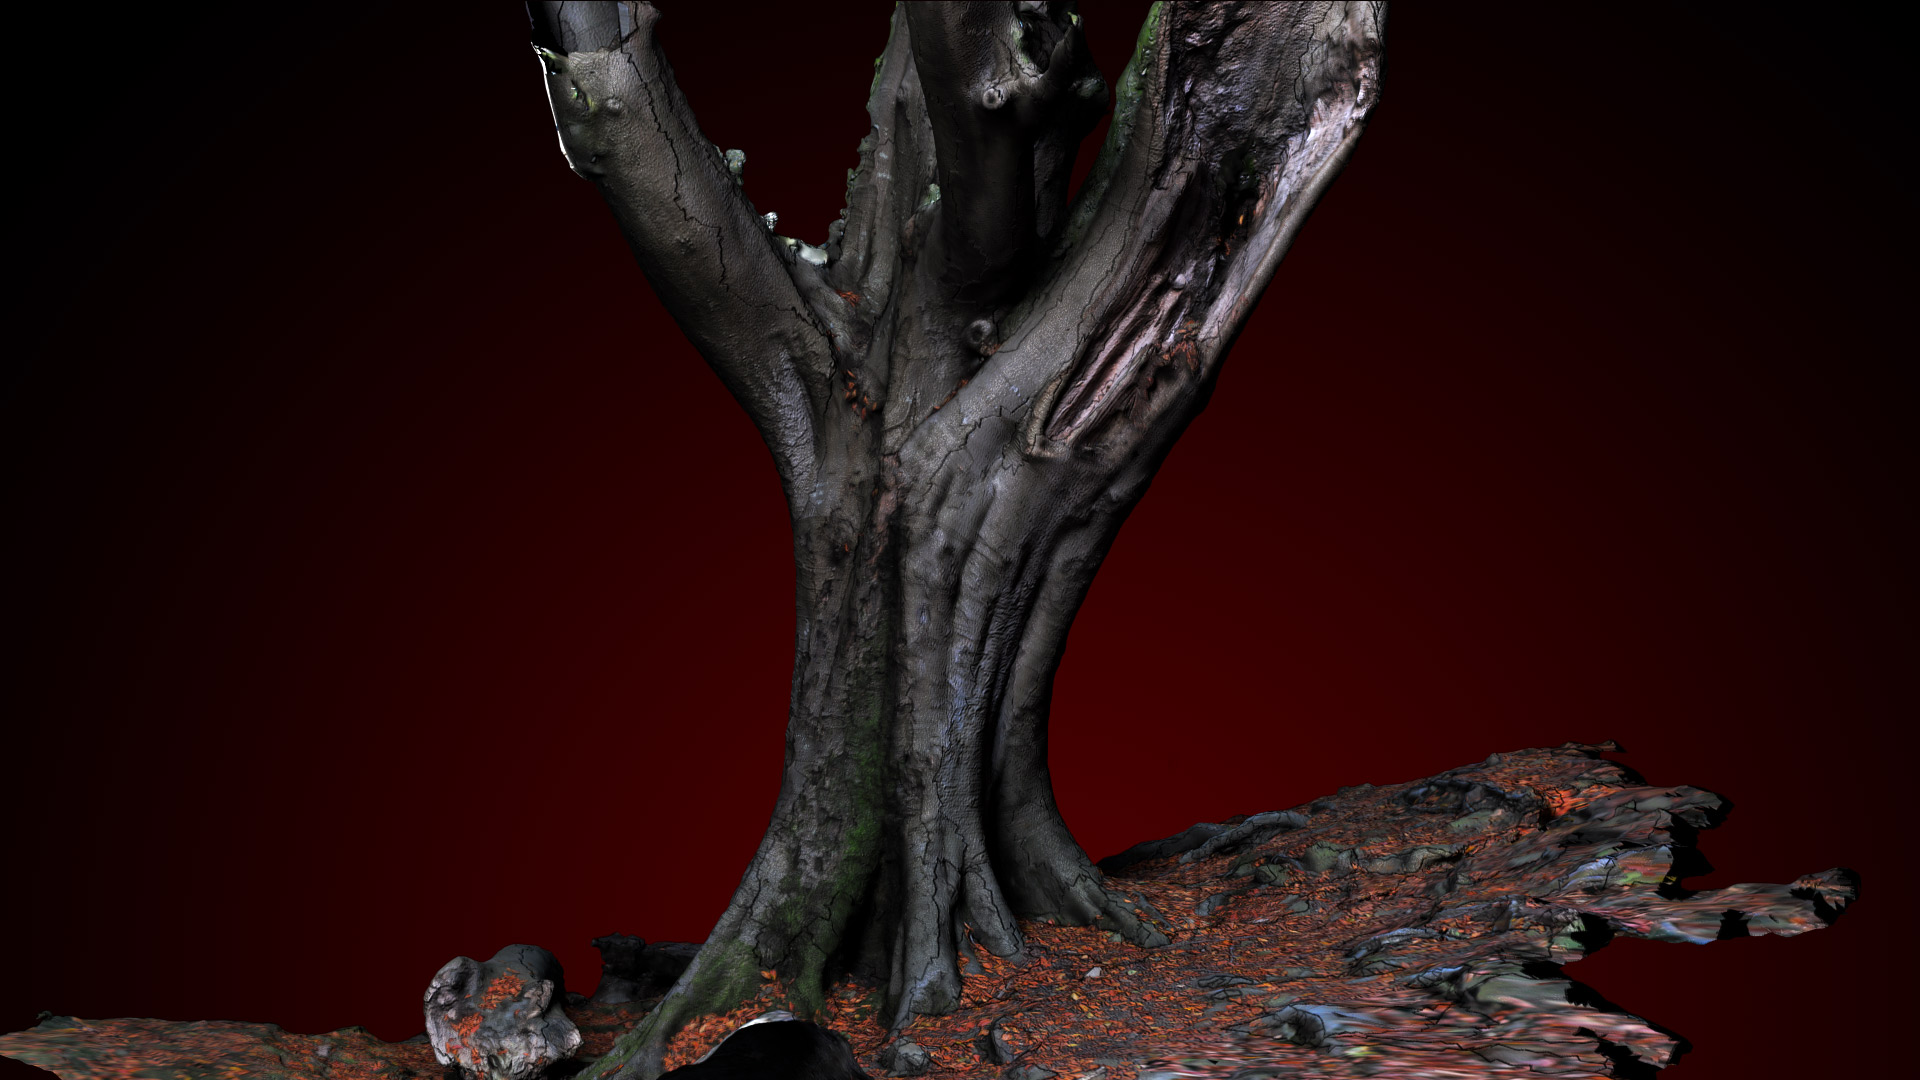
Again, very pleased for a first attempt, but there’s issues. As well as the cracks I mentioned earlier, there’s also the problem of it being on the edge of the woods, which meant that despite it being a very overcast day with very soft lighting, it was still pretty directional, as one side of the tree is exposed to the open air, and the other side is sheltered from the light by more trees.
This meant that no matter how I relit the tree on the computer, one side was always going to be brighter than the other – the side that was lit the most in real life.
You can also see that the ground texture isn’t that great, but if this were a model I’d be using in a final scene, I’d be deleting the ground surface from this model and creating my own, onto which I could add dirt, and actual 3D grass & rock models.
Everything I’ve read about photogrammetry suggested that I shouldn’t be tackling a subject this complex for my first attempt and that I should start with something easy, but diving in at the deep end has given me a nice long list of technical issues to solve, which I will now tackle one at a time on smaller, and simpler objects.
Overall, though, I’m pleased with the final result of this initial test, although I am trying out some different software next time around.
I’ll be sticking with Blender, but I’ll be swapping out Agisoft PhotoScan (I was using it on a trial), with VisualSFM and MeshLab, to see how well the whole process can work with an (almost) entirely “free” workflow (I’ll still be using Photoshop/After Effects to composite the final images/animations, but mostly because that’s one aspect of Blender I haven’t looked into yet).