
There was one location at which I shot at quite a lot during 2013 (at least 20 times over the amazing few weeks of summer we had last year). It’s fairly close to Lancaster (about 10 miles out), and it looks absolutely gorgeous, but only up until about noon.
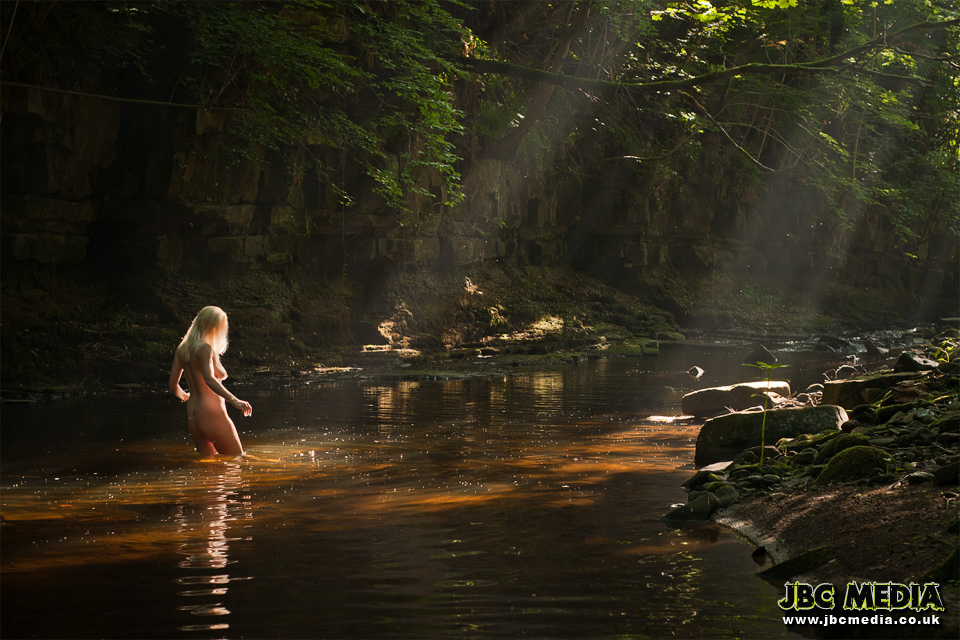
During the morning, shooting upriver, the sun creates a beautiful backlight on the water and your subject. Pop a flash from the front, and…
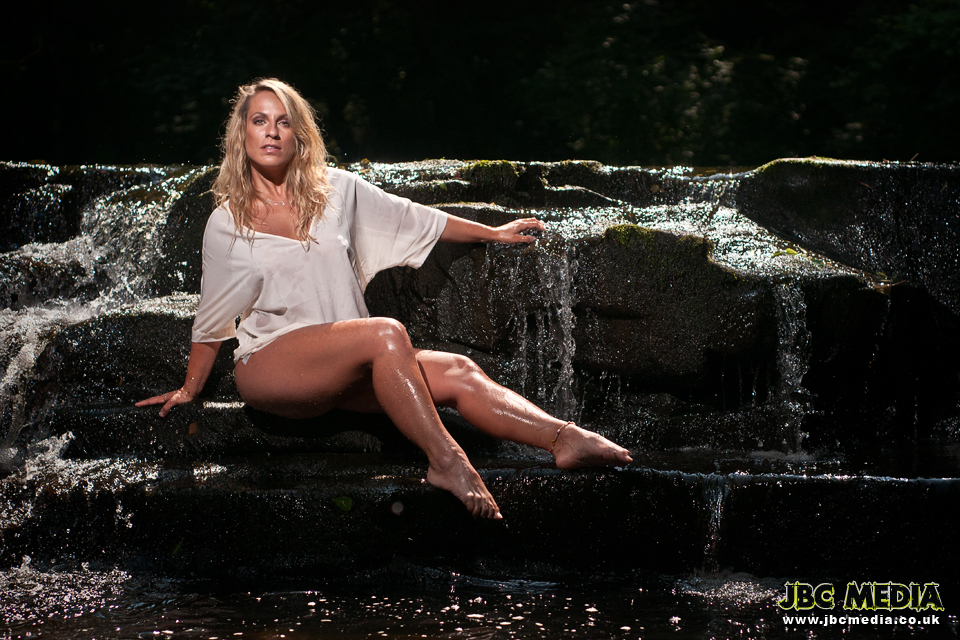
The above photograph was made at 11:30am. The sun is high very high in the sky, slightly behind the subject. It was shot at 1/5000th of a second at f/4 (to keep the background a little out of focus without blowing out the highlights too much). The flash used here was a bare Nikon SB-900 slightly higher than the subject to camera left.
Shortly after the midday sun hits, it goes behind a huge mass of trees, and then stays there until about 7pm (assuming you’re there on a day of the year where it’s actually still light at 7pm, and even then, you only see sun for about half an hour before it disappears again until the following morning).
This means arriving early (the shot below was at about 8:30am) and working quickly, because if you don’t get what you need before the sun goes behind those trees, you have to come back another day and hope you get decent weather again.
In situations like these, under harsh and potentially tricky lighting conditions, when you’re trying to work quickly, looking at a tiny LCD on the back of your camera, can be difficult. Images that are blurred can appear sharp, or vice versa, and seeing shadow detail can be almost impossible.
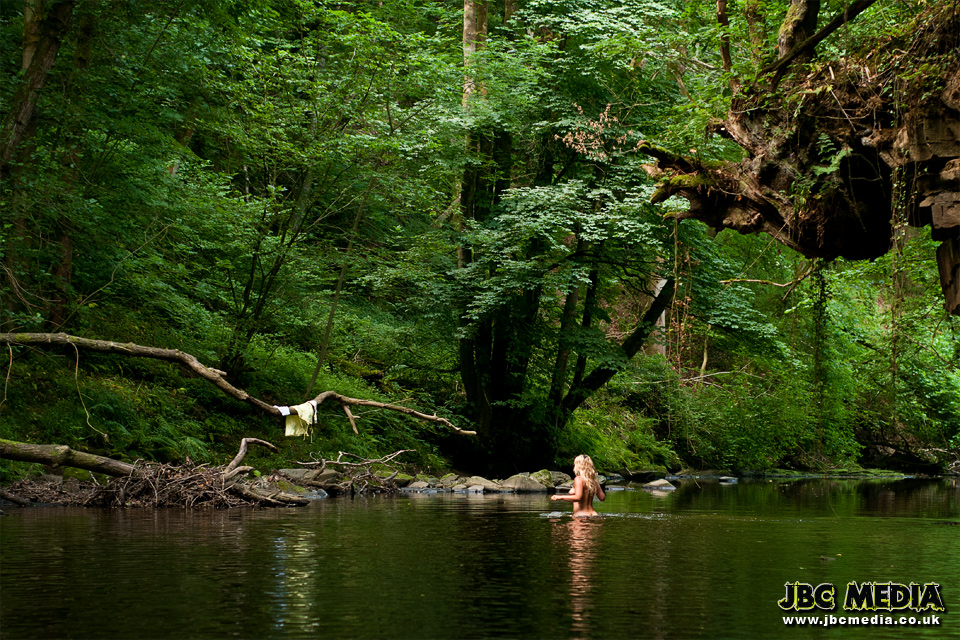
In the shot below (and the one above), with the subject being such a small part of the overall image, zooming in on the back of the camera didn’t really give me a realistic representation of sharpness.
DSLRs are simply incapable of it, beyond a certain point, as the image shown on the back of the camera is just a smaller embedded JPG version, not the full size image. You get to a point where zooming in more is just blowing up pixels, instead of showing finer detail.
The same can happen in the studio, especially if you’re shooting anything involving movement or shallow depth of field. This is where shooting tethered is invaluable.
In a studio, if you’re shooting tethered, you’re typically doing it over WiFi or via USB cable (or a network cable if you’re on a D4) to a desktop or laptop running Lightroom or Capture One, with RAW files coming up on a nice big monitor right beside you as you shoot.
On location, a full PC & monitor isn’t really that practical (especially if you’ve got to walk a mile from the car to where you’re shooting).
Even laptops can become pretty heavy when you have to add the weight of it to all the other equipment you’re carrying. There are lightweight laptops out there, of course, but for me, nothing beats the iPad on location for weight and speed.
It has a high res “Retina” display (I use the iPad3, or are we still supposed to call it “The New iPad”?), the colour accuracy is good enough for quick review on location, it’s bright enough that I can see it easily in full sun, it’s big enough that I can quickly glance over and immediately tell whether my image is sharp and I’ve nailed the focus, and it weighs next to nothing.
It also has tons of battery life, and I can always hook it up to a USB battery to recharge it in the event that I do actually drain it (I always take a couple of 12000mAh USB batteries out with me).
But how to shoot tethered to an iPad when you’re not on a WiFi network?
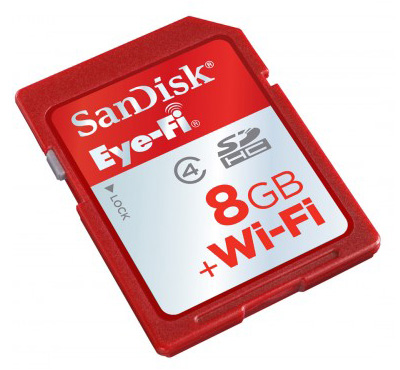 The easiest option for many of us is an Eye-Fi card. There are other solutions, and I’ll explore some of those in other posts, but if you have a camera with an SD slot, the Eye-Fi is is a great way to shoot on location, even if not always the most reliable (I’ll get to that).
In a real studio environment, if you want to be able to quickly go through various looks or apply default styles to images as they’re being shot, JPG files from an Eye-Fi card isn’t really a great alternative a computer running Lightroom or Capture One with RAW files, but out on location, when we’re only using it to check focus & composition, it’s perfect.
The “Pros” of the Eye-Fi speak for themselves, and I’m going to get them out of the way first.
- They’re inexpensive (at least compared to typical Nikon/Canon branded WiFi solutions). The SanDisk branded ones are very inexpensive, the Eye-Fi branded ones are about 3-4x the price of the SanDisk.
- Once you’ve got it setup and talking to an iPad, it just works, first time, every time (assuming you can keep a connection).
- It will work as a regular SD card too, so you don’t have to relegate it to just JPG duty in a second card slot.
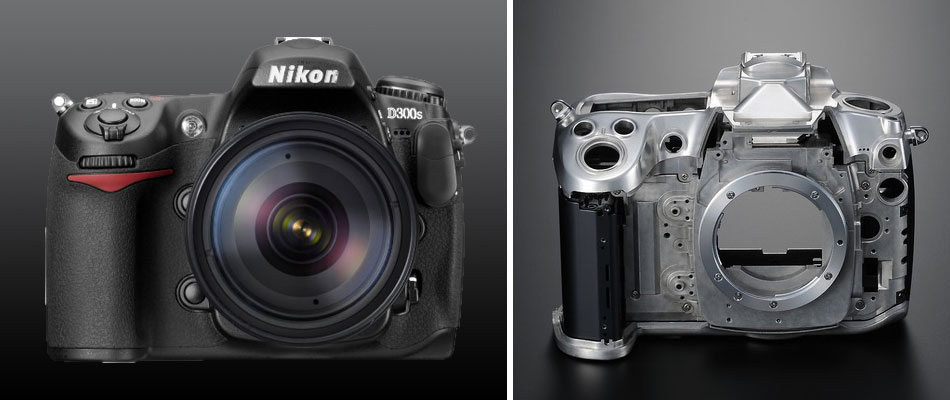
To clarify the last point a little bit. I typically shoot with a Nikon D300s which has dual card slots. One is CompactFlash, the other is SD. I shoot RAW+JPG, with the RAW files going to the CF card, and the JPG files to an Eye-Fi card in the SD slot.
If, however, you have a camera with only a single SD slot, and nothing else, you can still shoot RAW+JPG. Both files will be saved to the card, however only the JPG file will be beamed across to the iPad (unless you get the Pro X2, but with the caveats below).
Which brings me on to the cons of the Eye-Fi.
- SanDisk branded Eye-Fi cards only transmit JPG files. The Eye-Fi Pro X2 will allow you to transfer RAW files (which is why they’re 3-4x the price), however it can be painfully slow if you’re shooting a camera with a high MP count, and there aren’t really any decent RAW processing apps for the iPad anyway, so offers virtually no advantage over JPG.
- It requires Internet access and an account with Eye-Fi to initially configure it. This isn’t a massive problem, but there are times when this can be an issue.
- It doesn’t allow transfer to a private FTP server on your LAN. You can only upload to their server, which then gets relayed on to an Internet connected FTP server.
- The better your camera body, the worse Eye-Fi performance gets. As mentioned above, I shoot with the Nikon D300s, which is a “Professional” Nikon DX body. Part of this “Professional” bit means that the body is all metal. This metal frame can act as a Faraday cage, limiting the reach of your card.
- If your camera doesn’t have an SD slot, your mileage will vary with SD to CF card adapters. Some work, some don’t, some work only in certain bodies, and some cameras won’t work with the Eye-Fi no matter what adpater you get. Until you actually get one and try it out, you’ve no idea if it’s going to work or not, and then the CF adapter itself can increase the Faraday cage type effect mentioned above.
- When you first turn on your camera, it can take a while to negotiate a connection between the card and the iPad.
- By default, the Eye-Fi is setup to go into sleep mode after a couple of minutes of inactivity, which means you face the above problem rather regularly, and it often requires a fair bit of messing around to wake your card back up and get the iPad to log back onto it.
- It can be configured to be always on, and not go into sleep mode, however this drains the battery rather quickly. I go through batteries 2-3x as fast when I’m using the Eye-Fi card without allowing a sleep mode, but it does mean I eliminate the issue above.
With the last two points, you’re basically trading one negative for another, and you have to pick the lesser of two evils. For me, as mentioned, speed is of the essence, and as I always take a couple of spare batteries with me anyway, I turned off the sleep mode. If I want the card off, I turn the camera off.
The Faraday cage effect can be gotten around relatively easily. Either shoot within the range available (where practical) or get a router.
While I may only get about 6ft of range between the Eye-Fi card and the iPad in direct mode, I can take the Eye-Fi card about 10-15ft away from an actual router.
There are a few USB powered routers out there now that are small enough to stuff in a bag or your pocket and take out on location, giving you a bit more range while you shoot. Even though the Eye-Fi card might need to be within a short distance of the router, the iPad doesn’t.
Why might you want your iPad a decent distance away from you?
Well, when you’re waist deep in a river, having an iPad in viewing distance isn’t always an easy option.
Having it 50ft away on the bank, but still receiving the files as you shoot, means that by the time you get back over to it, all of your images have transferred and you can flick through them quickly.
Without the router, your images aren’t transferring until you get back in range, at which point you have to wait (and wait, and wait) for them all to copy over.
Using a router also helps to eliminate some of the problems initially negotiating a direct mode connection to the iPad.
If your Eye-Fi and iPad get out of range of each other, they have to renegotiate a connection when they see each other. The problem with the iPad is that it isn’t always looking for a network connection in the background.
It may disconnect as you go out of range, see that there are no WiFi signals within range, and then just quit looking, meaning you have to manually log back onto your card.
If you’re using a router, your iPad stays logged onto the router the entire time. As your Eye-Fi card is now acting as a regular WiFi client like any other, it will immediately log itself back onto the router when it comes back into range (or wakes back up if you enable sleep mode).
Now, this is where the “You have to be connected to the Internet to configure it” issue comes up, because not only do you have to be online, but you have to be online via the router you’re trying to talk to.
When you configure the Eye-Fi card, you put it into an SD card reader, and into a USB slot on your PC or Mac. This PC or Mac has to be connected to the Internet, as does the router that you want your Eye-Fi card to connect to.
If the Eye-Fi software can’t talk to the Internet, it won’t let you do anything with the card. If the router you’re trying to add can’t talk to the Internet, it simply won’t let you add it.
There’s a couple of different ways you can do this. Either temporarily replace your regular router with your new one, and have everything going through that while you set it up, or configure the new one as an access point with a separate WiFi login as an addition to an existing network.
I’ve detailed how to setup the latter in another article.
WiFi on Location – Setting Up Your Router
Fortunately, it’s something you only have to do once (unless you need to reconfigure your router by changing the security protocol or authentication password, etc), so as I noted above, it’s not a massive problem, just a pain in the backside during initial setup.
So, is it just like shooting in the studio with Lightroom on a 30″ monitor? Hell no. Is it a simple plug and play solution as soon as you take the card out of the packet? Again, the answer would be no.
Is it a workable solution for shooting on location that gives you an advantage over just using the back of the LCD? Most definitely.
Is JPG a perfectly acceptable format for simply checking focus & composition? Sure, it’s fantastic, and it transfers quickly over WiFi.
Does it speed up workflow, and easily let you know when you’ve nailed the shot so you’re not wasting time shooting images you don’t need? For me, absolutely.