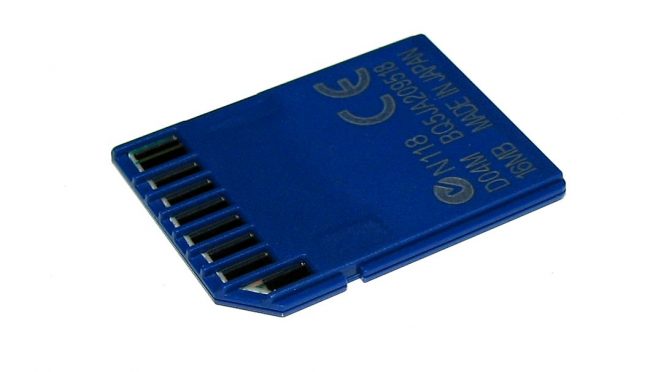
SD cards are pretty cheap these days, but that doesn’t mean we should let our smaller ones go to waste, especially when a system doesn’t fully utilise the space of a larger one that could be more useful elsewhere.
So, what can we do?
Normally, to backup and restore SD cards, I use Win32 Disk Imager.
The main problem of Win32 Disk Imager is that it creates an image file the same size as your SD card, no matter how much of the card is actually being used. If you’re using a 32GB card with a 4GB partition and the rest is unallocated space it will still create a 32GB image file.
Typically, however, I think most of us will allocate the full size of the SD card to the system.
Recently, I’ve been setting up Linux on a CubieBoard with an 8GB card as I didn’t know how much space the system would ultimately need. It turns out it requires only a little over 3GB.
As there won’t really be any real future file creation on it demanding a lot more space, a 4GB card will hold everything just fine.
I don’t really want to have to start the whole process over from scratch, reinstalling, recompiling and reconfiguring everything, but how to fit an 8GB image on a 4GB card?
Linux allows you to resize partitions to make them larger or smaller, but you don’t want to try this with a mounted partition that you’re currently running an operating system from, so this method requires three SD cards in total.
Well, the way I did it requires three, as I don’t have a full time Linux PC, and didn’t want to have to mess around rebooting with Live CDs.
- Your original SD that you want to copy
- A fresh SD card that you want to copy to
- An SD card containing a working Linux operating system
In this case, #1 is a 8GB card, #2 & #3 are 4GB cards. #3 is the card on which I installed Cubian and will go in the built in MicroSD slot on the CubieBoard.
You can, of course, use a “real computer” running Linux in place of card #3 and the CubieBoard, but your device names will likely be different.
The other two cards will go into card readers connected via USB. Unless you’re using a USB hub, you’ll want to make sure you have a network cable plugged in so you can SSH to the system, otherwise you won’t be able to type anything, as there’s no free USB socket for a keyboard.
#1 is seen as /dev/sda and #2 is seen as /dev/sdb (or perhaps the other way around – check and make sure using fdisk -l on each device).
If these devices auto mount when inserted, you’ll want to unmount them.
From here, it’s pretty simple. As our original card is seen as /dev/sda, the main partition we want to modify will be /dev/sda1. To resize this, we simply type (as root)…
resize2fs /dev/sda1 [new size of the partition]
You will generally want to make the partition size smaller than the destination card, as SD cards are not all created equally, and even if they are labelled as having the same capacity, they’re not all identical.
This is why, if you have several 8GB cards from different manufacturers and put them in a DSLR, there may be differences between the maximum number of images each claims to be able to hold after formatting them in the camera.
Anyway, in my case, I made the partition 3500MB, so the command I used was…
resize2fs /dev/sda1 3500M
You may be prompted to run e2fsck, just to check and cleanup the filesystem. If you are, then do so, and try the resize2fs command again.
Once the partition has been resized, copying the SD card is simple.
dd if=/dev/sda of=/dev/sdb
That’s it, that simple. It takes a few minutes depending on the size & speed of the cards you’re using, but it’s basically just a case of waiting until it’s finished.
Now, shutdown the system, remove all the card readers, and the card in the built in slot. Place you’re newly created card (#2 that was /dev/sdb) into the internal slot and boot up.
Once logged in, a quick run of “df” shows you that you’re not utilising 100% of the card space. This is what we expected, as we made the partition 3500MB to ensure it would fit on the 4GB card.
Sat in the internal slot, our SD card has a new device name. Now it’s /dev/mmcblk0, and our partition is /dev/mmcbkl0p1. Simply running…
resize2fs /dev/mmcbkl0p1
…will expand the partition to the maximum available on the card.
And you’re done.
Your system has been copied to a smaller card, and you’ve freed up your larger card for other tasks where it can be more useful.
Now, just use Win32 Disk Imager to make a new image file the size of the smaller capacity card. You can always restore this image to a larger card and run resize2fs if you want to go bigger again.
Remember, though, if you want to copy to another card claiming the same capacity as your source, you still may have to go through this process all over again if the new card ends up being a few bytes smaller in capacity.
